
-

Sig Sauer
SKU: PMPX-4B-9-35
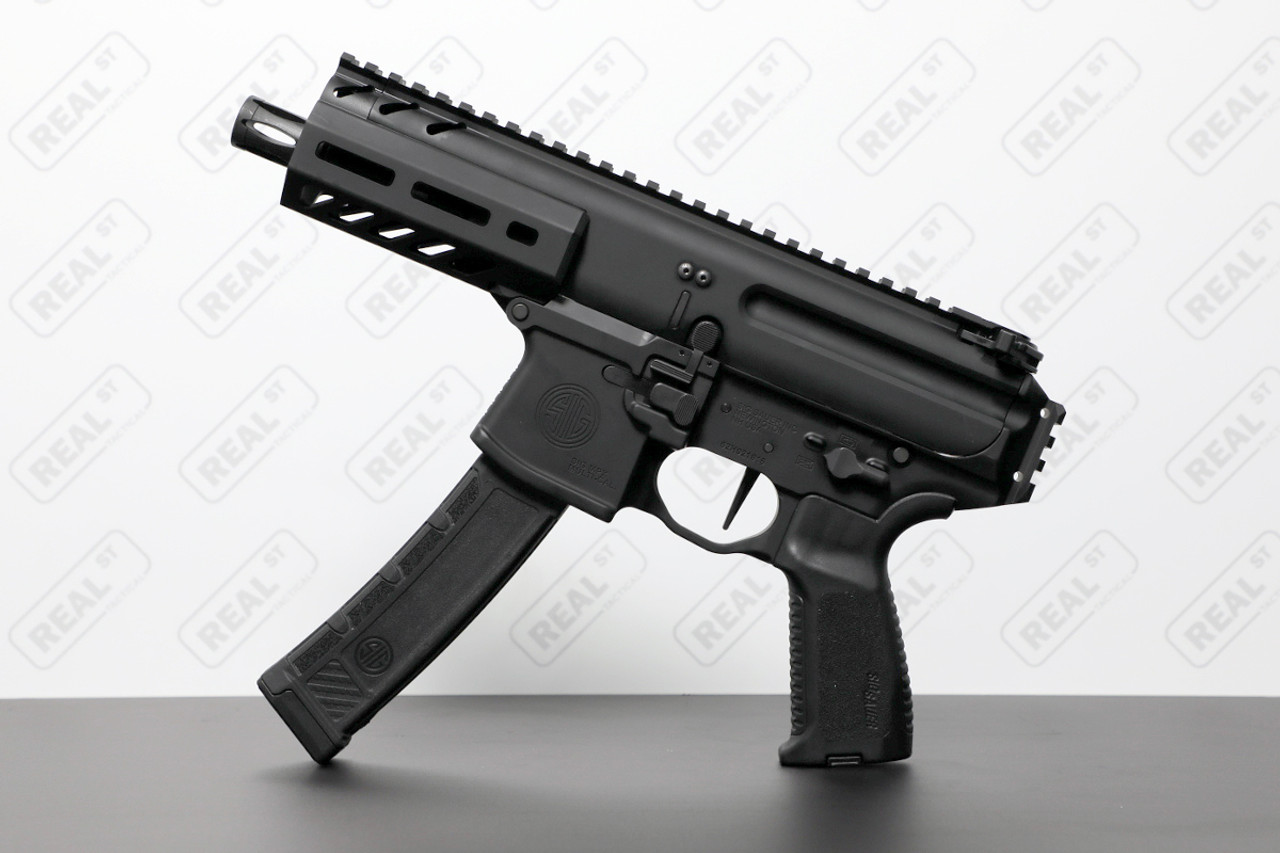
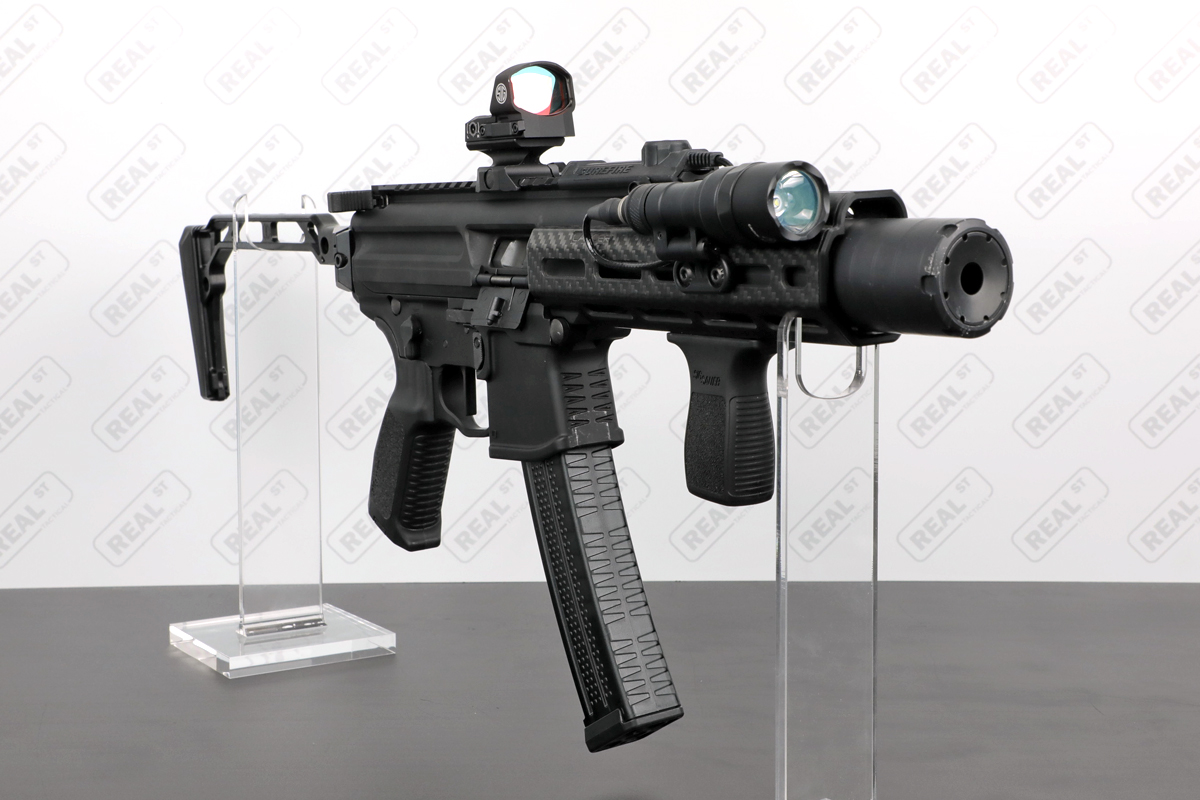
Sig Sauer MPX K 4.5" 9mm Pistol with Brace Black
Caliber: 9mmBarrel Length: 4.5"Barrel Twist: 1:10Operating System: Gas PistonColor: BlackWeight: 5lbs (2.3kg)$2,199.002 in stock -

Sig Sauer
SKU: SOR31004
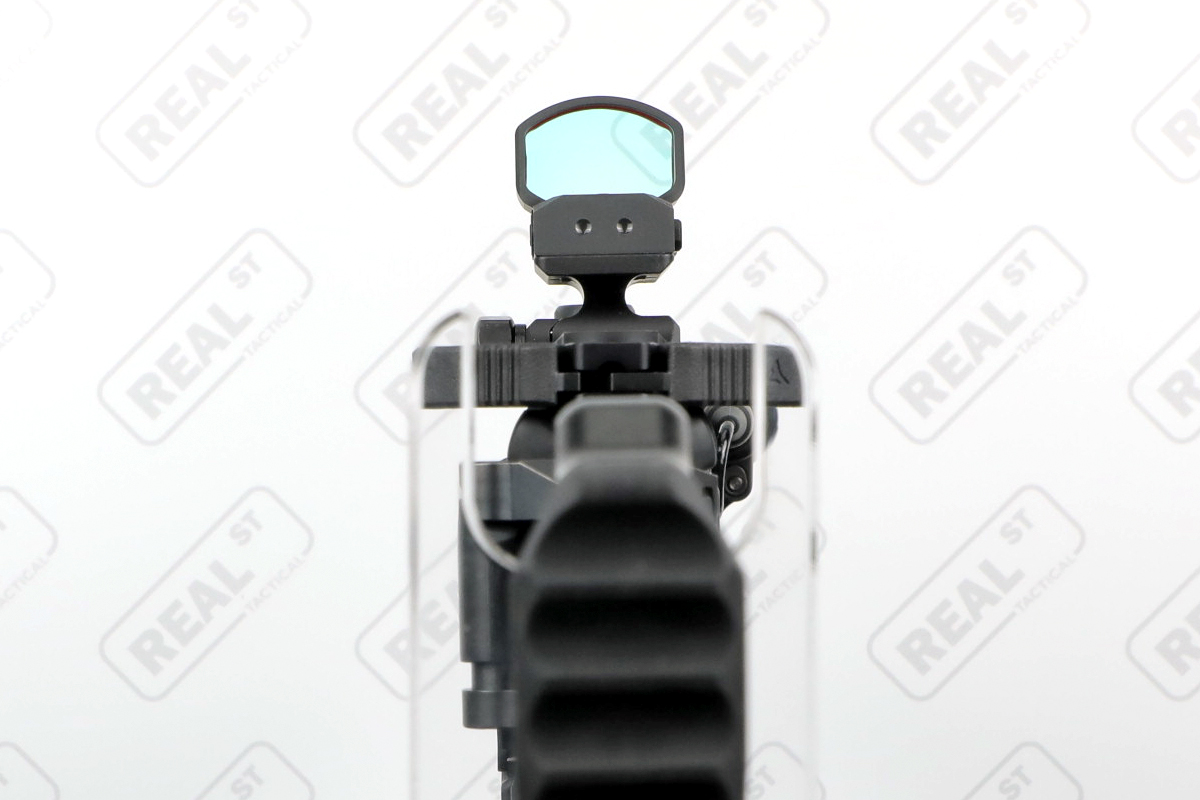
Sig Sauer Romeo3XL 1x35mm Red Dot Optic 3 MOA Red Dot - Black
Magnification: 1xColor: BlackReticle: 3 MOA Dot (Red)$699.99 -

Timney
SKU: 144848
Timney DH3 Daniel Horner Signature Adjustable 2 Stage Trigger MPX MCX AR15
Trigger Shape: FlatTrigger Type: 2 StageAdjustable: Yes (1.5-3lbs)Fits: AR15, Sig MPX, Sig MCX$366.99 -

Surefire
SKU: M340C-BK-PRO
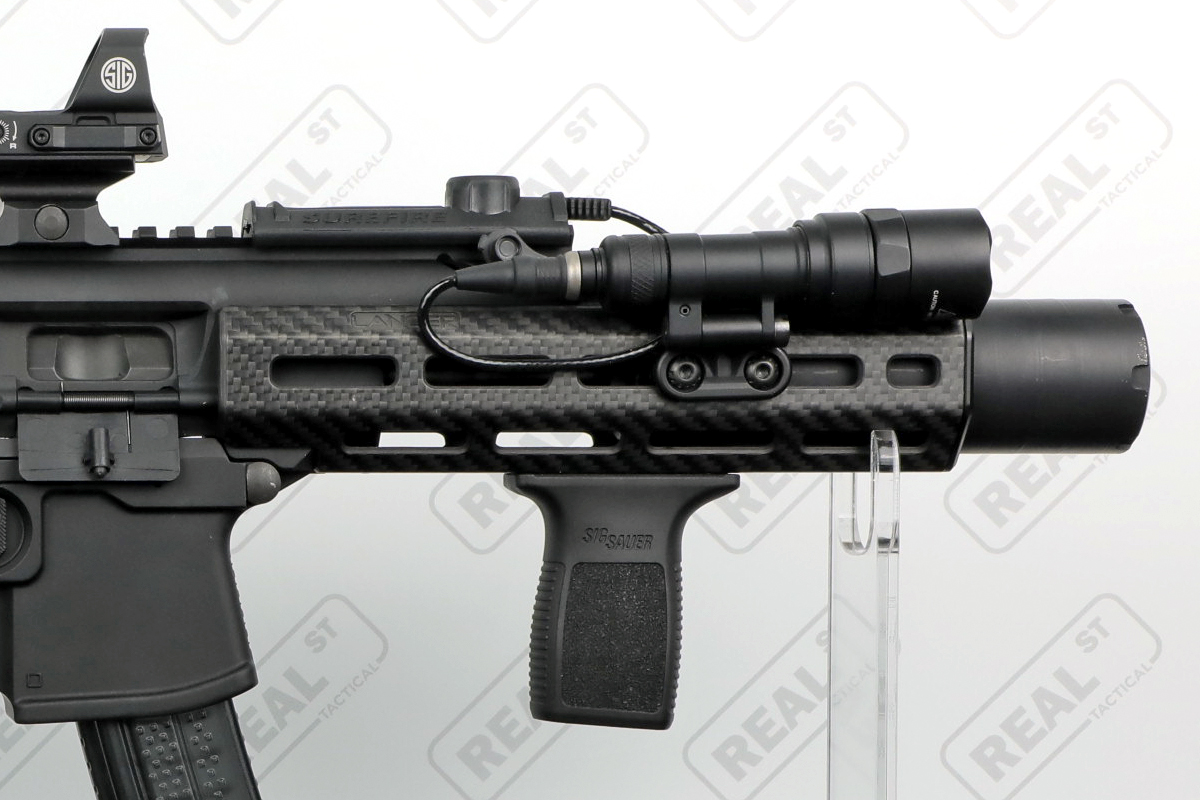
Surefire Mini Scout Light Pro M340C Flashlight BLACK LED 500 Lumens Black 1913 Picatinny and MLOK Mounts Z68 On/Off Tailcap
Color: BlackMount Type: 1913 Picatinny & MLOKLight Output: 500 Lumens$323.005 in stock -

JMAC Customs
SKU: SS-9RP+FM-SM-1913
JMAC 9" Folding Skeleton Stock and Rubber Butt Pad and 1913 Folder Hinge BLACK SS-9RP
Color: BlackFits: 1913 Rail SectionsLength: 9"$274.41 -

Lancer
SKU: LCH-MPX-8
Lancer Carbon Fiber MPX Handguard 8" Sig Sauer Black
Fits: Sig Sauer MPXLength: 8"$251.69 -

Sig Sauer
SKU: SOFR1CM0
Sig Sauer Foxtrot MSR Compact Flashlight BLACK LED 500 Lumens Black 1913 Picatinny and MLOK w/ Switch
Color: BlackMount Type: 1913 Picatinny & MLOKLight Output: 1350 Lumens$189.99 -

Vertx
SKU: F1 VTX5711 IBK
Vertx VTAC 18" Rifle Case Gun Bag
Color: BlackStyle: Double Pistol CaseDimensions: 19.3"W x 11.8"H x 5.5"D$134.99 -

Surefire
SKU: UE-SR07-BK
Surefire UE-SR07 Scout Light Remote Double Switch and End Cap BLACK 1913 Picatinny
Product Type: Flashlight On/Off SwitchColor: BlackMount Type: 1913 Picatinny & MLOKActivation Switching: Tape Switch + On/Off Button$134.00Only 1 in stock -

Radian Weapons
SKU: R0367
Radian Raptor LT MPX Charging Handle Sig Sauer Raptor-LT Black
Color: BlackFits: Sig Sauer MPX$104.954 in stock -

Surefire
SKU: UE07-TN
Surefire UE-07 Scout Light Remote Tape Switch and End Cap TAN
Color: TanMount Type: NoneActivation Switching: Momentary Tape Switch$95.00 -

Surefire
SKU: UE07
Surefire UE-07 Scout Light Remote Tape Switch and End Cap BLACK
Color: BlackMount Type: NoneActivation Switching: Momentary Tape Switch$86.00 -

Sig Sauer
SKU: SOR3M100
Sig Sauer Riser Mount for Romeo3 Max Romeo3XL Absolute Co-Witness
Color: BlackFits: Romeo3XL to 1913 Rail$69.992 in stock -
 $49.99
 -

Magpul
SKU: MAG617-BLK
Magpul M-LOK Mounting Plate for Surefire UE07 Tape Switch Black
Color: BlackMount Type: M-LOKFits: Surefire UE07 and UE07-TN only$14.20